In our previous post, we explored the benefits of using a monorepo for Python projects and set up a basic structure for our repository. In this post, we’ll dive deeper into two essential tools that will take our monorepo to the next level: Docker multi-stage builds and Pytest with coverage reporting.
TLDR: Here is the link to Github repo
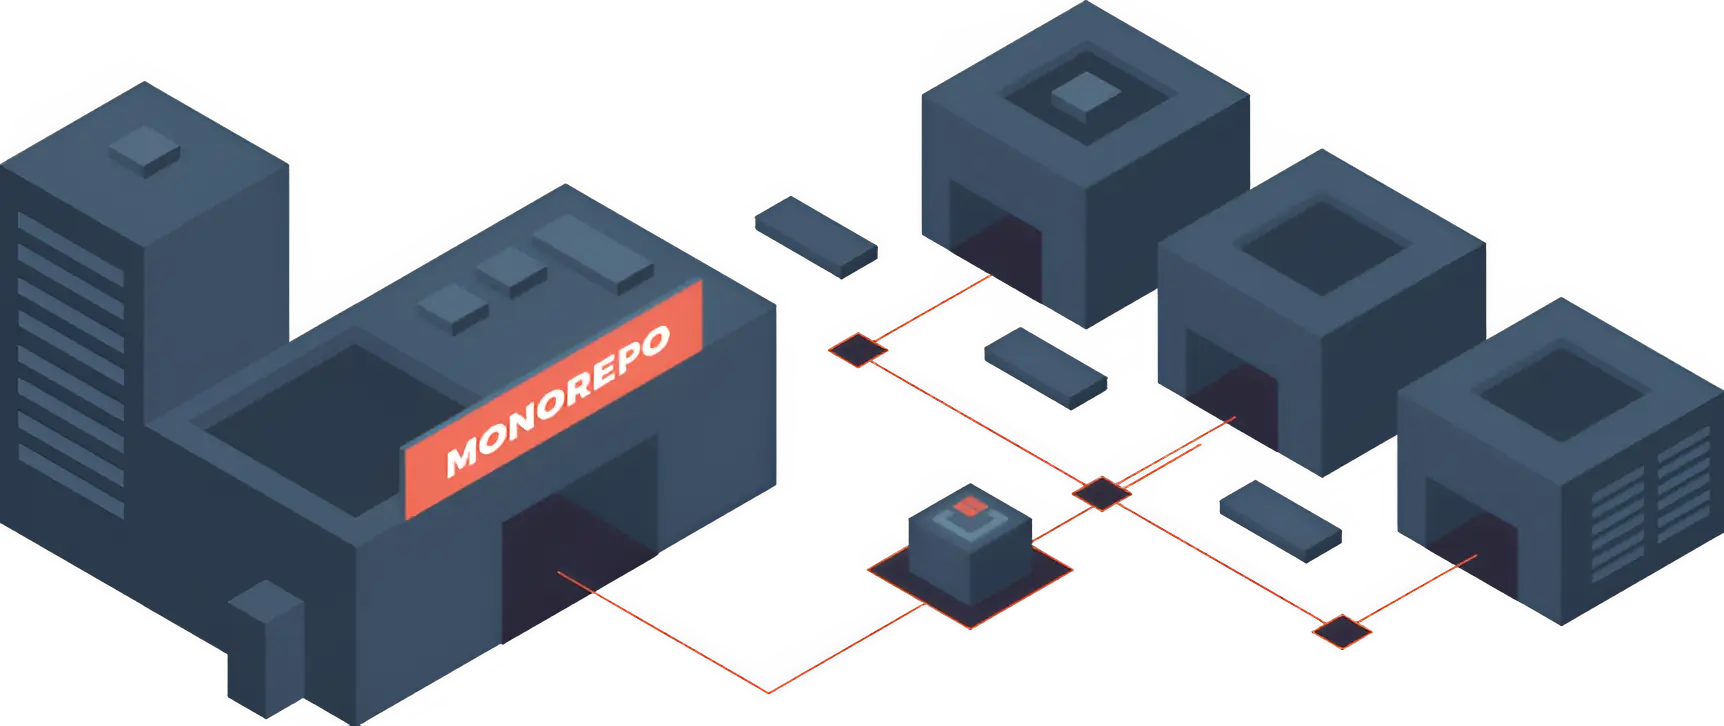
Docker Multi-Stage Builds for Monorepo
Docker is an essential tool for any Python developer, allowing us to create isolated environments for our projects. One of the most powerful features of Docker is multi-stage builds, which enable us to create smaller, more efficient images for our applications.
In a Python project, a multi-stage build typically consists of two stages:
- Build stage: This stage is responsible for building our Python application, including installing dependencies and compiling code.
- Runtime stage: This stage creates a minimal image that includes only the necessary dependencies for our application to run.
Here’s an example of a Dockerfile that demonstrates a multi-stage build for a Python application, more details for docker multi-stage build you can read this guide:
# Build stage
FROM python:3.9-slim as build

RUN python -m venv /opt/venv
ENV PATH="/opt/venv/bin:$PATH"

WORKDIR /app

COPY requirements.txt .

RUN pip install -r requirements.txt

COPY . .

RUN pip install .

# Runtime stage
FROM python:3.9-slim
COPY --from=build /opt/venv /opt/venv

WORKDIR /app

COPY --from=build /app .

CMD ["python", "app.py"]
However, the above method doesn’t work for our monorepo projects with external dependencies. In traditional Docker builds, docker build context is limited to the current directory and its subdirectories. This means that if we have multiple projects with dependencies, we need to create a separate Dockerfile for each project, which can lead to duplicated effort and maintenance issues.
import pydantic
import torch
from ml.core import sum_two_tensor

@app.get("/add-operator")
async def add_operator(a: float, b: float) -> float:
    result: float = sum_two_tensor(torch.tensor(a), torch.tensor(b)).item()
    return result
...
To avoid duplicating the Dockerfile for each project, we can utilize the build-context feature in Docker, which supports using a local context to build a Docker image.
For this monorepo, Docker multi-stage can be segmented into two steps:
- Step 1: Add your libraries to the Docker build context, e.g:
docker buildx build --build-context ml=../../libs/ml - Step 2: Use the
COPYcommand to copy local context files into the Docker build.
All the processes can be described as follows:
# Build the compile stage:
docker buildx build --file Dockerfile \
       --target compile-image \
       --label git-commit=$CI_COMMIT_SHORT_SHA \
       --build-context telemetry=../../libs/telemetry \
       --build-context ml=../../libs/ml \
       --build-context mq=../../libs/mq \
       --cache-from $DOCKER_IMAGE:compile-stage-$TAG \
       --tag $DOCKER_IMAGE:compile-stage-$TAG .


# Build the runtime stage, using cached compile stage:
docker buildx build --file Dockerfile \
       --target runtime-image \
       --label git-commit=$CI_COMMIT_SHORT_SHA \
       --build-context telemetry=../../libs/telemetry \
       --build-context ml=../../libs/ml \
       --build-context mq=../../libs/mq \
       --cache-from $DOCKER_IMAGE:compile-stage-$TAG \
       --cache-from $DOCKER_IMAGE:$TAG \
       --tag $DOCKER_IMAGE:$TAG .
FROM python:3.8.16-slim-buster as base-img
...
# Install dependency
ARG INSTALL_TEST=false
COPY poetry.lock pyproject.toml ./
RUN sed -i 's/develop = true/develop = false/g' pyproject.toml poetry.lock # Change develop to build deployment

COPY --from=telemetry . ../../libs/telemetry
COPY --from=ml . ../../libs/ml
COPY --from=mq . ../../libs/mq
RUN . /opt/venv/bin/activate && poetry install --no-root --only main
By using Docker build context, we can efficiently build Docker images for multiple projects with dependencies, ensuring that our monorepo is properly containerized and ready for deployment.
Generating Single Coverage Reports for Multiple Projects
Now that we have our projects containerized, let’s focus on testing and coverage reporting. Pytest is an excellent testing framework for Python, and when combined with coverage reporting, we can ensure that our code is thoroughly tested and optimized.
Pytest in a Containerized Environment
Running tests locally is easy, and you can read the previous post to learn how to enable local testing in Python. However, for containerized Docker, multiple tricks have to be used to support testing in an isolated environment.
First, we have to enable the installation of the test environment in Docker, but creating another Dockerfile is not trivial. To do that, we expose a flag variable to switch between the test and production environments in Poetry.
Secondly, in the build command, we add another variable to the build process and execute the pytest command with the current directory mounted as /tmp.
FROM python:3.8.16-slim-buster as base-img

# Install dependency
ARG INSTALL_TEST=false
RUN . /opt/venv/bin/activate && if [ $INSTALL_TEST != 'false' ] ; then poetry install --no-root --with test ; \
    else poetry install --no-root --only main ; fi
INSTALL_TEST=${INSTALL_TEST:=false}
docker buildx build --file Dockerfile \
       --target compile-image \
       --build-arg INSTALL_TEST="$INSTALL_TEST" \ # Import variable into docker args
       ...
docker run -i --rm -v "$PWD:/tmp" -w /tmp \ # Mount the current directory to docker
    $DOCKER_IMAGE:$TAG pytest
The first step here is to expose the INSTALL_TEST variable outside of the bash file, allowing us to easily toggle the flag by running INSTALL_TEST=true bash scripts/build.sh.
This, in turn, enables the Docker command to switch between build modes based on the INSTALL_TEST flag, where Poetry installs with test dependencies if the flag is true, and vice versa.
Coverage Reports for Multiple Projects
Another challange here is collect all the coverage reports into a single html file. Cause each coverage file in project will have the different root path than other, such as services/fastapi-ml and libs/ml. We have to go to each project and re-combine the coverage file to map the root folder into each subproject.
And with some bash commands, we can achive this step easily
coverage_files=$(find . -type f -name '*.coverage*')
current_dir=$PWD
for coverage in $coverage_files
do
    echo "Reload coverage file $coverage"
    cd $(dirname $coverage)
    coverage_base_name=$(basename $coverage)
    # Using a temporay coverage to keep the original coverage base
    mv $coverage_base_name "${coverage_base_name}_temp"
    coverage combine "${coverage_base_name}_temp"
    cd $current_dir
done
coverage combine --keep $coverage_files
coverage report --show-missing

# This command generates an HTML report showing the coverage percentage for each file
# with links to the source code.
coverage html
By using the coverage combine option, we can generate a combined coverage report for all projects in our monorepo. This provides a comprehensive view of code coverage across all projects, helping us identify areas that need improvement.
Conclusion
In this post, we’ve explored two essential tools for taking our Python monorepo to the next level: Docker multi-stage builds and Pytest with coverage reporting. By using Docker multi-stage builds, we can create separate images for each project, ensuring isolation and minimizing dependencies. With Pytest and coverage reporting, we can ensure that our code is thoroughly tested and optimized.
In our final chapter in this series, we’ll explore more advanced topics, such as continuous integration and deployment for our Python monorepo using Github Action and Codecov. Stay tuned!
Комментарии